

Any retailer, salesperson, and wholesaler must have an inventory management system. Keeping track of stocks without the help of professional software can be very tedious. Most people will look at the costs of acquiring such software and give up. Without considering Microsoft Excel as a substitute, most retailers will end up giving up on keeping such records. Such decisions become critical as, in the long run, they end up affecting business performance.
The article below looks at making an inventory list in an Excel spreadsheet on a Windows or Mac computer. We will discuss using pre-made templates in Excel or creating your own. Here we go.
Method 1: Using a Template
There are several pre-formatted inventory templates in Microsoft Excel. To access this, follow the steps below;
1. Launch Microsoft Excel and click on New
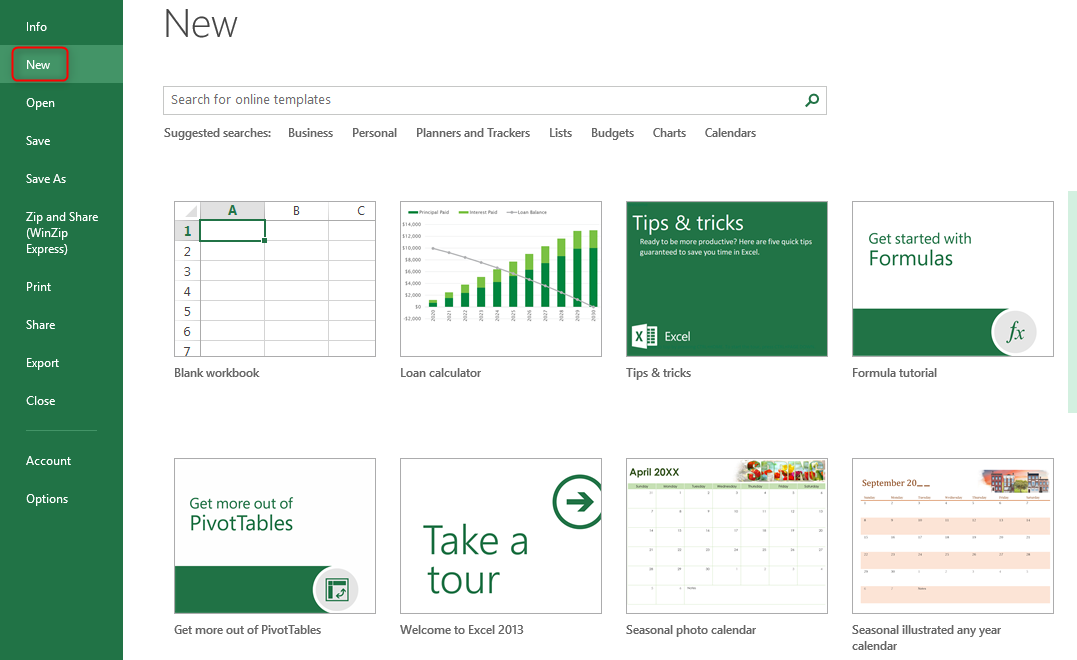
To do this, go to the search bar on the top window. Type in "inventory list," and then press Enter. It will direct you to different options.

In Mac, click File in the upper left corner and then click New from Template in the drop-down menu.
2. Choose the style you prefer for your inventory list.
Scroll through the given options and select one that is suitable or meets your preferences.
3. Click Create.

This option is to the right of the template's preview window. It will create your template. Please wait for it to load, as it may take only a few seconds.
4. Enter your inventory data
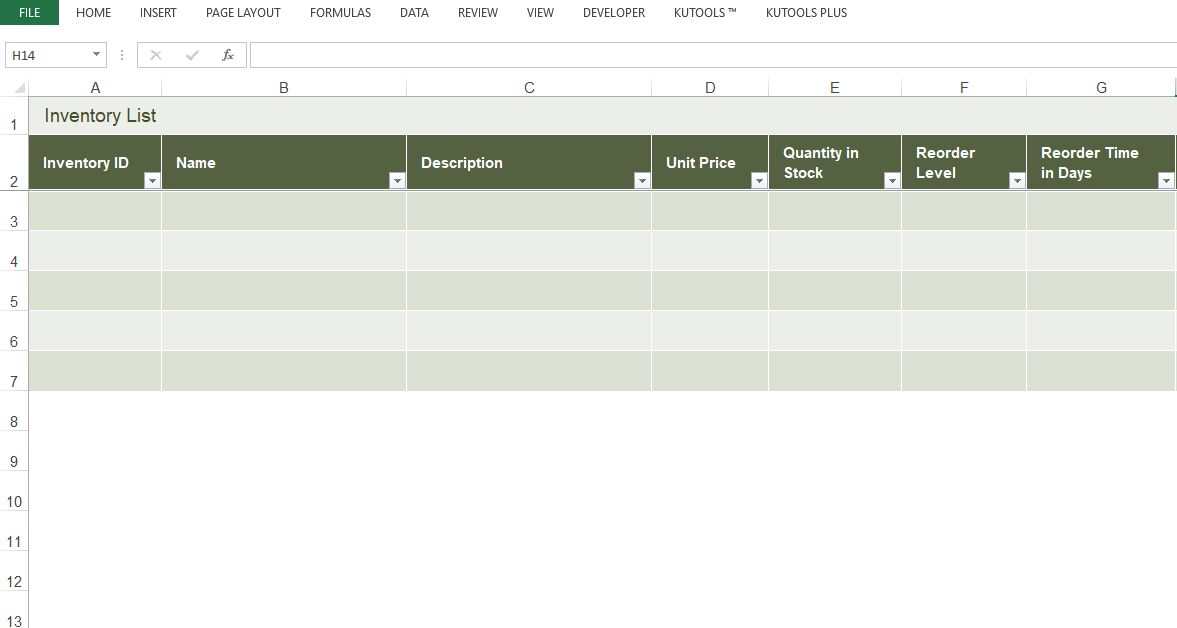
You will find pre-formatted data in the different fields. You can delete these and feed your data under the item number, item name, item cost, etc.
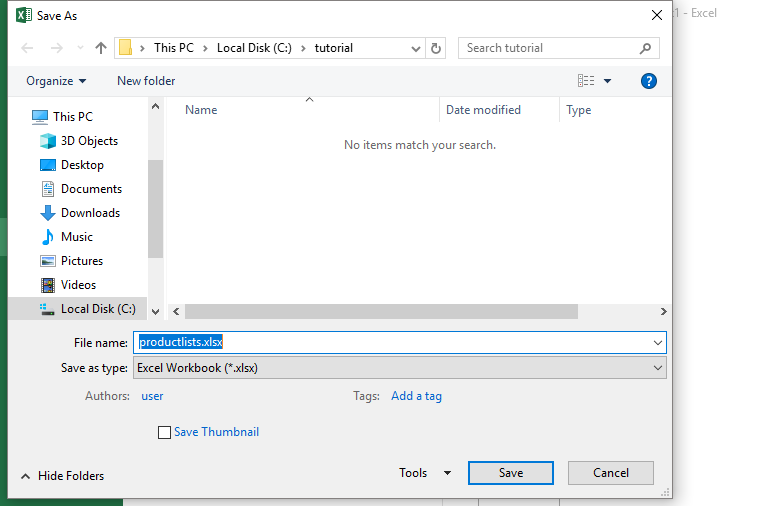
5. Save your document.
Go to the File tab, and select Save As. Choose the location on your PC where you want to save this File.

Method 2: Creating an inventory list in Excel from scratch
1. Launch the Microsoft Excel program.
2. Create a blank workbook by clicking on the File tab. It is on the upper-left side of the window. Select the 'New' option and click on the Blank workbook.

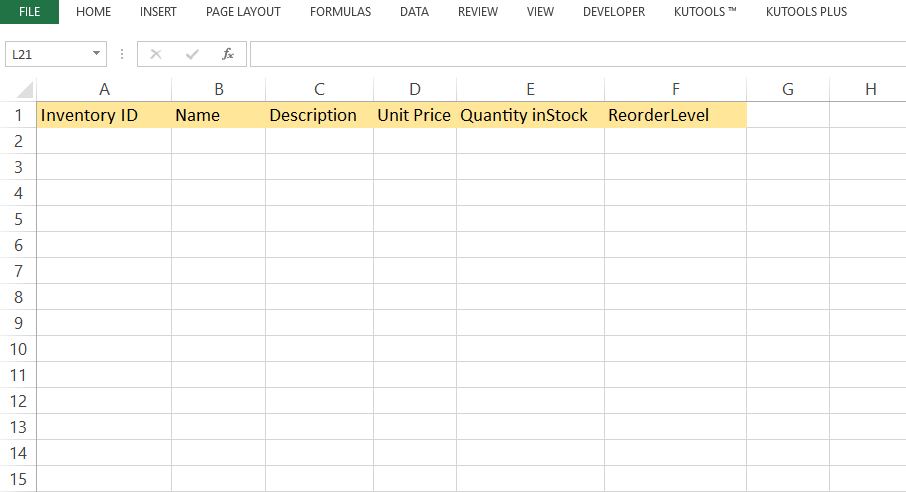
3. Create your inventory list headers. These headers will represent the things you want to record, like item number, item name, item cost, item ID, the total number of items, items sold, and net value. Fill in the inventory list headers horizontally under different cells.

Highlight the headers and choose a fill color for clarification
4. Enter the inventory information. Enter all the inventory information you want to record in your worksheet. Do all the totals and computations using Excel formulas.
5. Save your File. Save your worksheet to your preferred location. Remember to type the worksheet's file name.
Method 3: Excel IN and OUT Inventory Database
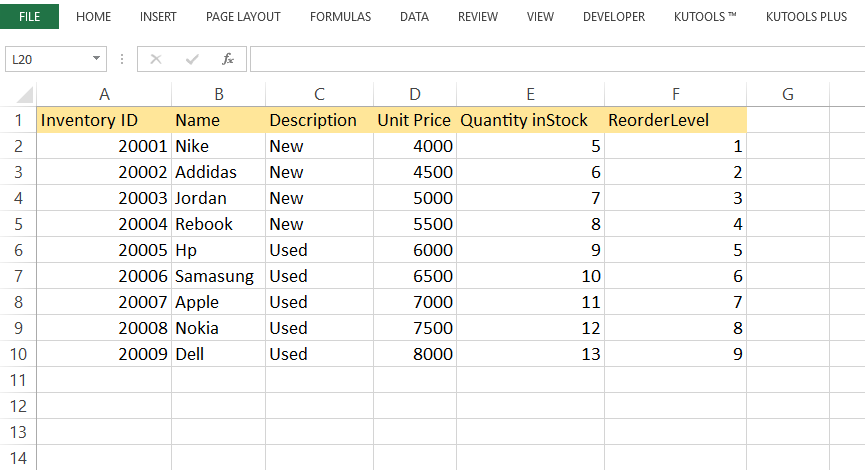
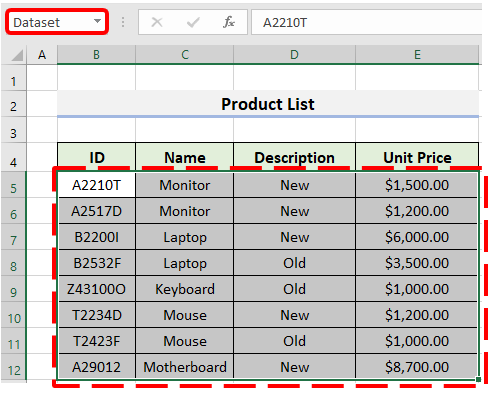
This method extracts data from a product list to create an in-and-out inventory. A sample product list from which we shall extract data is shown below. The list entails a product ID, name, product description, and unit prices.

STEPS:
1. Select the data range tray. i.e., in this case, B5:E12 and name it, Dataset. This data tray is part of the product list from which we want to extract an inventory.
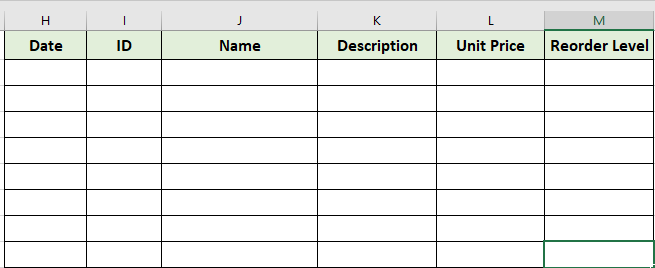
2. To create an inventory, you need a table beside this database. Here is a sample of what you need.
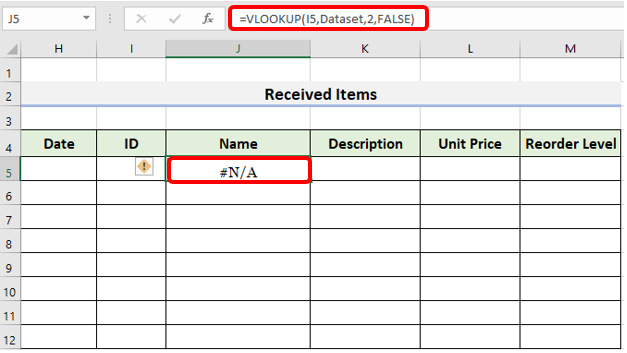
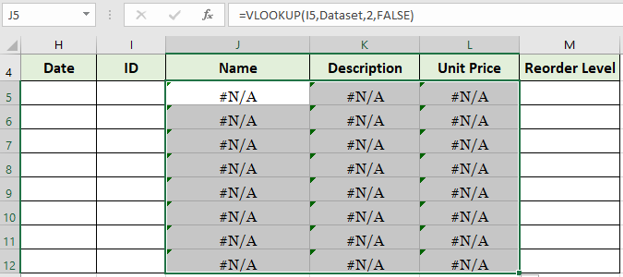
3. Select Cell J5 with Name header and type the following formula:
=VLOOKUP(I5,Dataset,2,FALSE)
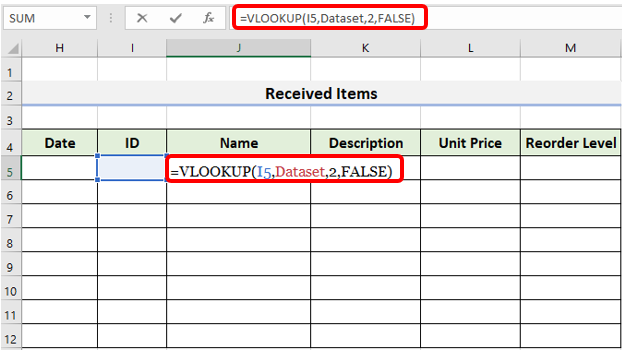
The VLOOKUP function is used here to search for an item in the Dataset array, as highlighted above. I5 represents the cell lookup source, while numerical 2 is the column index. The argument FALSE was used since we need an exact match.
4. Hit Enter to reveal the result. At first, you will see an #N/A error. Proceed to the next step, for there is no problem.
5. Click on Cell K5 and type the following formula:
=VLOOKUP(I5,Dataset,3,FALSE)
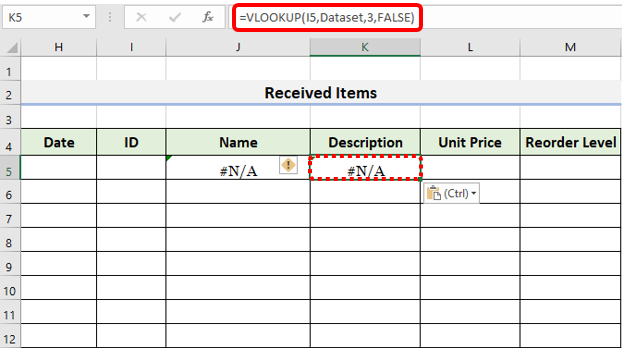
And as expected, this command also posts an error.
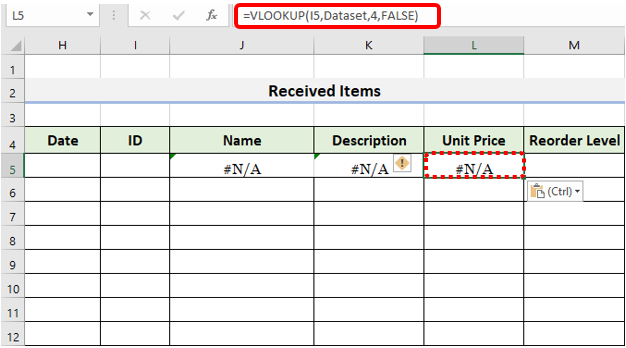
6. Also, select Cell L5 and type the following formula:
=VLOOKUP(I5,Dataset,4,FALSE)
7. After that, select Cells J5, K5, and L5 and drag the Fill Handle down to copy the formula.
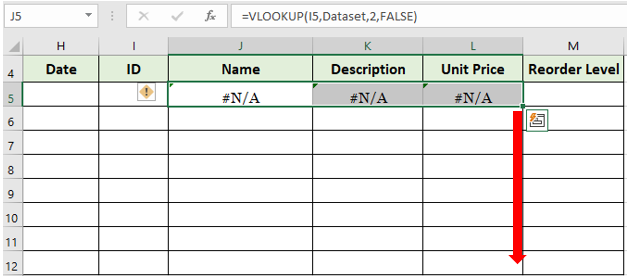
8. See the table below.
9. Now, you should enter the product IDs of the items from the product list. The rest of the pieces of data in the 3 columns will be populated automatically.
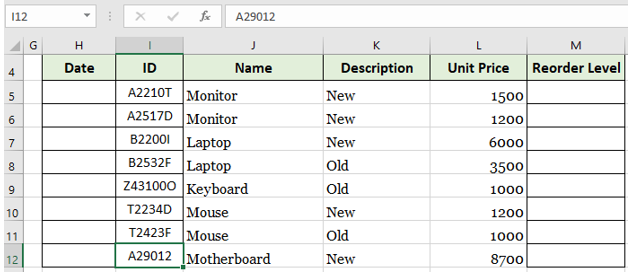
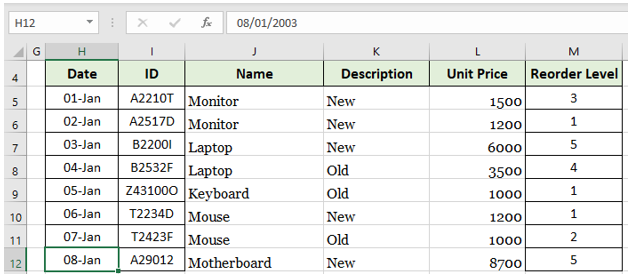
10. The above table shows your new inventory. You can follow the same procedure to create a sales inventory for record-keeping purposes.
NOTES;
You should note the following when using excel to create an inventory.
- When using the Excel template method, always first save the template before exiting so you can reuse it.
- Check that you have used the correct column indices in the VLOOKUP function formula for accurate results.
Conclusion
An inventory list is a preferable way of keeping track of your stocks, sales made and the amount received. It is a crucial part of any retailer or salesperson's business. Not only will you be able to keep track of your sales, but you will also know when to manage stock depletion. Choosing either of the two ways of creating an Excel inventory list saves you from incurring extra fees from professional software.