
Text to Columns is one of the most helpful tools in Excel. As its name suggests, the tool is used to text strings to columns. In addition, the tool can be used to import data from databases or other file formats. Despite the tool being vital, many Excel users do not know how to use this tool. In this article, we shall discuss 7 amazing things you can do with the Text to Columns tool.
1] Splitting Names into the First Name and Last Name
Sometimes, you may have the first and last name in the same cell. You can use the Text to Column tool to split into last name and last name. Below are the steps to do so:
1. Open the Workbook that contains your dataset.
2. Select the columns that contain the names.
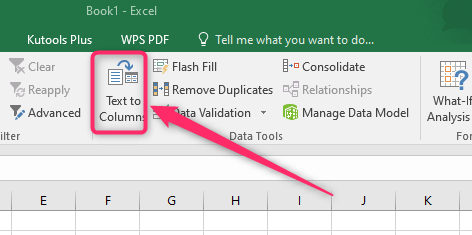
3. Go to the Data tab on the Ribbon, and locate the Data Tools section.
4. Click the Text to Columns button to open the Convert Text to columns Wizard dialogue box.

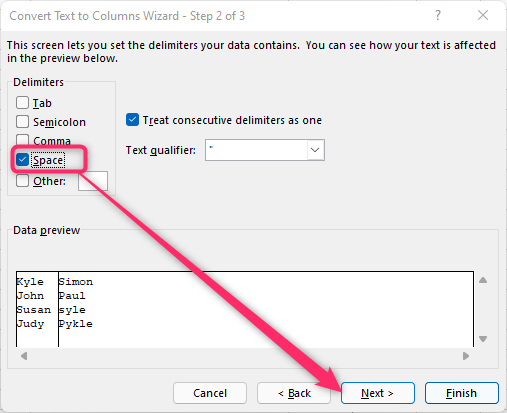
5. In the dialogue box, select the Delimited option and click the Next button.

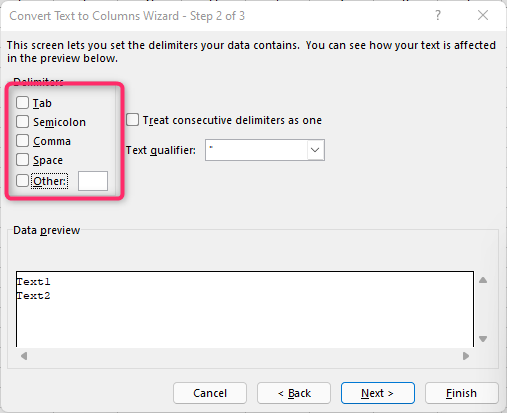
6. On the next screen, check the Space checkbox. Then, click the Next button.
7. In the next screen, toggle on the General Button, and select the destination in the Destination section.

8. Finally, hit the Finish button.

2] To get Root Domain from URL
Steps:
1. Select the columns that contain the URL.
2. Go to the Data tab on the Ribbon, and locate the Data Tools section.
3. Click the Text to Columns button to open the Convert Text to columns Wizard dialogue box.

4. In the dialogue box, select the Delimited option and click the Next button.

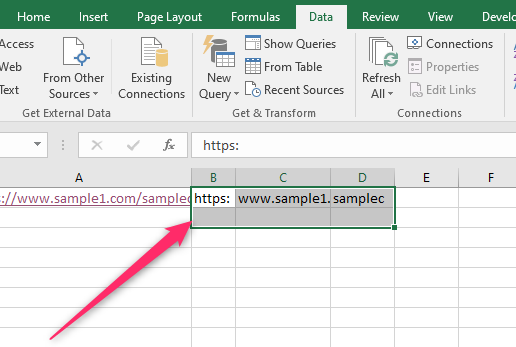
5. In the next screen, enter the Slash (/) in the Other section. Then, click the Next button.

6. In the next screen, toggle on the General Button and select the destination in the Destination section.

7. Finally, hit the Finish button.
3] Splitting Emails IDs
Steps:
1. Select the columns that contain the emails.
2. Go to the Data tab on the Ribbon, and locate the Data Tools> Text to Columns.

3. In the dialogue box, select the Delimited option and click the Next button.
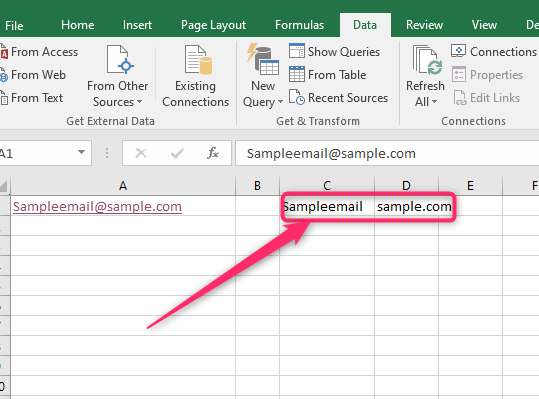
4. In the next screen, enter the @ in the Other section. Then, click the Next button.

5. Select the destination in the Destination section.
6. Finally, hit the Finish button.

4] Converting Texts to Numbers
Steps:
1. Select the columns that contain the texts you wish to convert to numbers.
2. Go to the Data tab on the Ribbon, and locate the Data Tools> Text to Columns.

3. In the dialogue box, select the Delimited option and click the Next button.
4. In the next screen, make sure NO delimiter is selected. Then, click the Next button.

5. Select the destination in the Destination section.
6. Finally, hit the Finish button.
5] Extracting characters of a string
Steps:
1. Select the columns that contain the texts.
2. Go to the Data tab on the Ribbon, and locate the Data Tools> Text to Columns.
3. Select the Fixed Width option in the dialogue box and click the Next button.

4. Using the Cursor, set the number of characters you need. Then, click the Next button.

5. Select the destination in the Destination section.
6. Finally, hit the Finish button.
6] Converting Invalids Dates Formats into Valid Date Formats
Steps:
1. Select the columns that contain the invalid dates.
2. Go to the Data tab on the Ribbon, and locate the Data Tools> Text to Columns.

3. In the dialogue box, select the Delimited option and click the Next button.
4. In the next screen, make sure NO delimiter is selected. Then, click the Next button.
5. In the Next screen, toggle on the Date button and choose the DMY option. Then, select the destination in the Destination section.

6. Finally, hit the Finish button.
7] Converting numbers to Negative numbers
Steps:
1. Select the columns that contain the invalid dates.
2. Go to the Data tab on the Ribbon, and locate the Data Tools> Text to Columns.

3. In the dialogue box, select the Delimited option and click the Next button.

4. Then, click the Next button.
5. In the Next screen, click on the Advanced button and then check the Trailing minus for Negative Numbers checkbox.
