If you are an Excel user, you know that data processing can be time-consuming and repetitive. Excel VBA code can help you automate your tasks and save a lot of time. One of the ways you can do this is by adding option buttons to userforms. In this guide, we will show you how to implement Excel VBA code to add option buttons in userforms and streamline your data entry process.
Key Takeaways:
- Option buttons, also known as radio buttons, allow users to select a single option from a set of choices.
- Excel VBA code can be used to add option buttons to userforms and create interactive interfaces for data input and analysis.
- Assigning values to option buttons and writing VBA code for option button events can help you perform actions based on the user's selection.
- Validating user selections and linking option buttons to cells in an Excel worksheet can enhance the overall user experience.
- Styling option buttons can customize their appearance and match your userform's design.
What are Option Buttons in Userforms?
Before we delve into the VBA code for option buttons in userforms, let's learn about option buttons and their role in userform design. Option buttons, also known as radio buttons, are graphical controls that enable users to select a single option from a group of choices. These buttons can be added to a userform, providing an interactive interface for data input and analysis. By using option buttons, users can quickly select from a curated list of choices, reducing data entry errors and improving the accuracy of your data.
Unlike checkboxes that allow selection of multiple values, option buttons are ideal when the user needs to make an exclusive choice. This feature makes them an excellent choice for creating forms in which users need to choose only one option from a set of choices.
Option buttons come with a label, which is used to describe the choice. The labels are user-friendly, helping users easily prioritize between a set of options. The buttons themselves will remain grey until clicked upon, after which the selected button will be indicated by being highlighted in a color, usually blue or black.
Option buttons can be used to represent anything or any values. They are relevant whenever you feel the need to present a selected choice to a user and record their response. In the next section, we will outline the steps required to create a userform in Excel VBA.
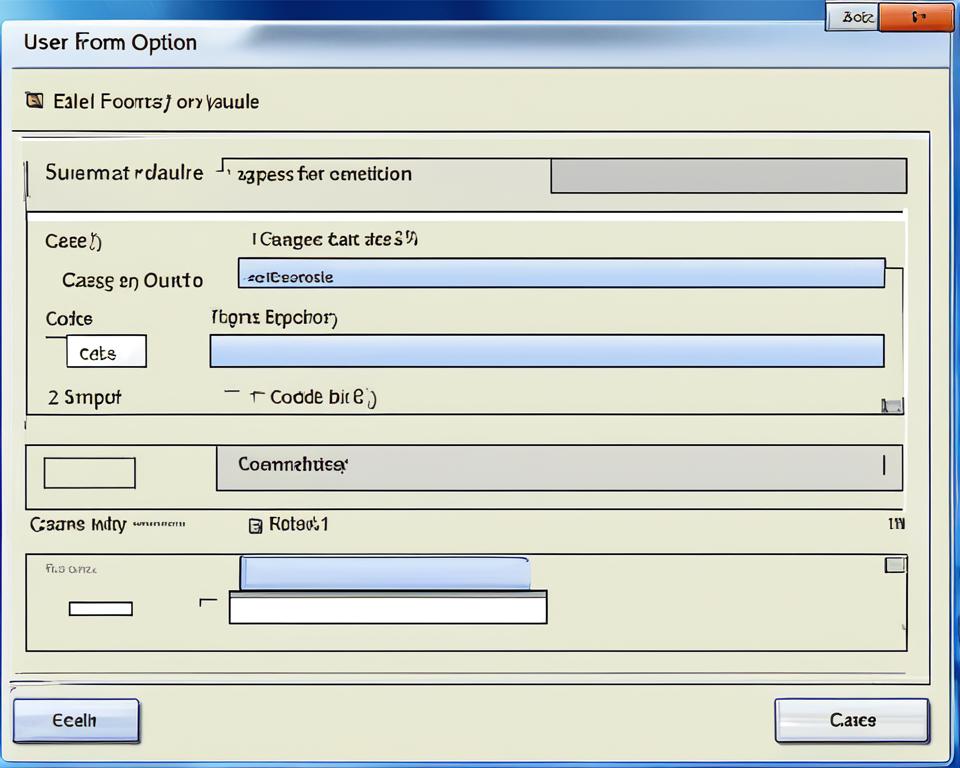
Creating a Userform in Excel VBA
To create a userform in Excel VBA, follow these simple steps:
- Open a new workbook in Excel.
- Press 'Alt + F11' to open Visual Basic Editor.
- Click 'Insert' from the top menu and choose 'Userform' from the drop-down list.
- The userform will appear on the screen. Click and drag the corners to adjust the size.
- From the 'Toolbox' menu on the left, drag and drop the necessary controls onto the userform.
- Customize the properties of each control, including the 'Caption', 'Name', 'Width', 'Height', 'Font', 'Color', and 'Alignment' using the Properties window on the right.
- Save the userform by clicking 'File' and then 'Save Userform'.
Once your userform is created and saved, you can easily add option buttons by following the steps in the next section.
Adding Option Buttons to the Userform
Once you have created the userform, the next step is to add option buttons to it. Option buttons, also known as radio buttons, allow users to select a single option from a set of choices. Follow these steps to add option buttons to your userform:
- Click on the UserForm icon to open the userform in design mode.
- Click on the Option Button control (located under the Toolbox).
- Click and drag a rectangle on the UserForm to specify the size and position of the first option button.
- Repeat step 2 and 3 to add more option buttons to your userform.
- Select each option button and edit its Caption property in the Properties window to specify the text that appears next to the button.
- To group option buttons together, select them and set their GroupName property to the same value.
- Arrange the option buttons in a logical order and space them evenly to ensure optimal user experience.
Configuring Option Button Properties
Option buttons have several properties that you can configure for a better user experience:
| Property | Description |
|---|---|
| Caption | The text that appears next to the option button. |
| Name | A unique identifier for the option button, used in VBA code. |
| GroupName | The name of the option button group to which the button belongs. Buttons in the same group share the same value and only one button can be selected at a time. |
| Value | The value that is assigned to the option button when it is selected. This property is used to capture and process the user's selection. |
| Enabled | Whether the option button is enabled or disabled. Disabled option buttons cannot be selected by the user. |
By configuring these properties, you can create dynamic and interactive userforms that meet your specific needs.
Tip: While designing your userform, it is important to keep the user's point of view in mind. Arrange the option buttons logically and make them easy to understand and use.
Assigning Values to Option Buttons
In this section, we will walk you through the process of assigning values to option buttons to enhance the interactivity and functionality of your userform.
To assign a value to each option button, follow these simple steps:
- Select an option button on your userform.
- In the Properties window, locate the Value property and assign a unique value to each option button.
Note: It is essential to assign unique values to each option button to ensure accurate processing of user selections.
Here is an example of how to assign values to option buttons in Excel VBA:
Private Sub OptionButton1_Click()
If OptionButton1.Value = True Then
Range("A1").Value = "Option 1 Selected"
End If
End Sub
Once values are assigned to the option buttons, you can easily capture the selected value and process it in your VBA code.
To make the userform more visually appealing, you can also customize the appearance of the option buttons. For example, you can change the font, color, and size of the option buttons to match your userform's design.
Writing VBA Code for Option Button Events
Once the option buttons are added to the userform and assigned values, we need to write VBA code to handle the events triggered by these buttons. The events occur when the user selects or clicks on an option button.
The following is a step-by-step guide to writing VBA code for option button events:
- Open the Visual Basic Editor by pressing Alt+F11 in Excel.
- Double-click on the userform in the Project window to open the code window for the userform.
- Select the option button that you want to create an event for.
- Click on the drop-down arrow next to the "OnClick" event in the Properties window and select "Code" to open the VBA editor for the event.
- Write VBA code that performs the desired action when the option button is clicked or selected. For example, you can use an If-Then statement to display a message box or update a cell value based on the user's selection.
- Save the VBA code and close the editor.
It is important to test the VBA code thoroughly to ensure that it is working as intended. You can do this by running the userform and selecting different options to check if the code is responding correctly.
Pro Tip:
For more complex applications, you can use "Select Case" statements instead of If-Then statements to handle multiple option button selections efficiently in your VBA code.
Validating User Selections
Once you have added option buttons to your userform and assigned values to them, it is essential to validate user selections. This ensures that your VBA code runs smoothly and that no errors occur due to incorrect input.
To validate user selections, you can use a simple IF statement in your VBA code. The IF statement can check whether the user has made a valid selection by comparing the value of the selected option button to the expected value. If the values match, the code proceeds as planned. If not, you can show a helpful message or prompt to guide the user towards making a correct selection.
Here is an example of how you can use an IF statement to validate the user's selection:
'Assuming the option buttons have been named OptionButton1, OptionButton2, and OptionButton3
If OptionButton1.Value = True Then
'User selected Option 1 – proceed with your code
ElseIf OptionButton2.Value = True Then
'User selected Option 2 – proceed with your code
ElseIf OptionButton3.Value = True Then
'User selected Option 3 – proceed with your code
Else
'No option selected – display an error message
MsgBox "Please select a valid option."
End If
In the above example, the IF statement checks which option button has been selected and proceeds with the code accordingly. If no option button has been selected, the user is prompted to make a valid selection.
By validating user selections, you can ensure that your VBA code runs smoothly and that your userform provides a seamless experience for your users.
Using Option Buttons in Excel Worksheet
Option buttons are not limited to just userforms in Excel VBA. They can also be utilized in Excel worksheets to allow users to interact directly with data. By linking option buttons to cells in a worksheet, you can easily capture the selected values and use them in your formulas.
Here is a step-by-step guide to using option buttons in Excel worksheet:
- Create a new worksheet or open an existing one in which you want to insert the option buttons.
- Click on the 'Developer' tab in the ribbon. If this tab is not visible, go to the 'File' menu, select 'Options', and choose 'Customize Ribbon'. Here, check the 'Developer' option and click 'OK'.
- In the 'Developer' tab, click on the 'Insert' option and choose 'Option Button' from the 'Form Controls' section.
- Click and draw on the worksheet to create the option button.
- Right-click on the option button and choose 'Format Control' from the menu.
- Under the 'Control' tab, set the 'Cell link' property to the cell where you want to capture the selected value.
- Click 'OK' to close the 'Format Control' window.
- Repeat the above steps to insert and link more option buttons if required.
Once you have linked the option buttons to cells, you can use the selected values in your worksheet formulas. For example, if you have two option buttons to choose between 'Male' and 'Female', you can use the following formula in a cell:
=IF(A1=1,"Male","Female")
Assuming cell A1 is linked to the 'Male' option button, this formula will display 'Male' if that option button is selected, and 'Female' otherwise.
Using option buttons in Excel worksheets can make your data entry process more intuitive and save time. Experiment with different layouts and options to find the best solution for your needs.
Styling and Enhancing Option Buttons in Userforms
Option buttons can be styled to match the visual design of your userform, creating a more polished and professional look. Here are some tips for styling option buttons:
- Use contrasting colors to make the selected option stand out. For example, if your userform has a blue background, consider using a yellow or orange color for the selected option button.
- Experiment with different fonts and sizes to find the best fit for your userform. Consider using bolded or italicized text to highlight key information.
- Use images or icons in place of standard option button labels. This can be a great way to add visual interest and improve the usability of your userform.
- Consider grouping related option buttons together and adding a label or heading to indicate their purpose. This can make your userform more organized and easier to navigate.
By applying these tips, you can create option buttons that look and function great in your userforms.
Example:
| Before Styling | After Styling |
|---|---|
“Styling option buttons is an essential aspect of designing userforms that are both visually pleasing and user-friendly. By adding colors, images, and icons, you can create option buttons that are easy to understand and navigate, making your userform more effective in accomplishing its purpose.”
Conclusion
By using Excel VBA code for option buttons in userforms, you can greatly enhance the interactivity and functionality of your forms. You have learned how to create a userform, add option buttons, assign values, write VBA code, validate user selections, and utilize option buttons in Excel worksheets. By applying these techniques, you can streamline your data entry process and create intuitive interfaces for your users.
We hope this step-by-step guide has been helpful in improving your Excel skills. Remember to experiment with different styles and designs to create a userform that best fits your needs. With this knowledge, you can now take your Excel projects to the next level and create well-designed and interactive user interfaces.
Thank you for reading this article and we hope you found it informative and engaging. Stay tuned for more Excel tips and tricks!
FAQ
What is Excel VBA code?
Excel VBA code refers to the programming language used in Microsoft Excel to automate tasks, create custom functions, and manipulate data. It allows users to enhance the functionality of Excel by writing and executing scripts.
What are option buttons in userforms?
Option buttons, also known as radio buttons, are graphical controls that allow users to select a single option from a set of choices. In userforms, option buttons are added to create interactive interfaces for data input and analysis.
How do I create a userform in Excel VBA?
To create a userform in Excel VBA, you need to go to the Visual Basic Editor, insert a userform, and then customize it by adding controls, setting properties, and writing code to handle events and actions.
How do I add option buttons to a userform?
To add option buttons to a userform, you can use the Toolbox in the Visual Basic Editor. Simply select the option button control, click on the userform, and position it where you want. You can then customize the option buttons by changing their properties.
How do I assign values to option buttons?
To assign values to option buttons, you can use the Value property of each option button. By assigning unique values to each option button, you can easily capture and process the selected option in your VBA code.
How do I write VBA code for option button events?
You can write VBA code for option button events by selecting the option button, going to the code window, and choosing the appropriate event handler. From there, you can write the desired code to perform actions based on the user's selection.
How do I validate user selections with option buttons?
To validate user selections with option buttons, you can use conditional statements in your VBA code. By checking the selected option and displaying messages or prompts, you can ensure that the user makes a valid selection before proceeding with further actions.
How do I use option buttons in an Excel worksheet?
To use option buttons in an Excel worksheet, you can link them to cells. This allows users to interact directly with the data. You can then utilize the selected values in your worksheet formulas to perform calculations or display information based on the user's choice.
Can I style and enhance option buttons in userforms?
Yes, you can style and enhance option buttons in userforms. You can customize their appearance by changing their colors, fonts, and sizes to match the design of your userform. This can enhance the overall user experience and make your userform more visually appealing.