Excel is a friendly application that efficiently collaborates with other applications and platforms like Gmail. Did you know you can transfer data from Gmail to Excel? Yes, Excel user import data from Gmail. However, there is no direct way of doing so in Excel. Therefore, several workarounds need to be followed when transferring data from Gmail to Excel. In this article, we shall discuss common ways of transferring data from Gmail to Excel.
Using manual method
This is the easiest way to transfer your data from Gmail to Excel.
Steps to follow:
1. Open your Gmail application and locate the application you wish to transfer.
2. Double-click and open the Gmail document. On the opened document, click the More Tab (three vertical dots). From the menu, choose the Download Message button.
3. Your file will be downloaded and saved on your PC.
4. Open an empty Excel workbook. Then, drag your downloaded file into the blank Workbook.
5. A new dialogue box will open. Click the Yes button. Now, you can view your document on the Excel screen.
Using Email Backup Wizards
Email Backup Wizard is a third-party application that can be used to transfer data from Gmail to Excel. Below are steps to follow when using this tool:
1. To get started, download and install the Email Backup Wizard on your PC. To do so, visit this site and download the application https://turgs.com/dl/email-backup-wizard.exe
2. After installing the application, go ahead and launch the application. In the left pane of the app’s screen, click the Gmail button located in the Email Source section.

3. On the right side of the screen, enter your email address in the Email Address section. In the Password, add the Password of your Email. Then, click the Login button.

4. In the next screen, choose the email folder or file you wish to transfer. In the Select Saving Option, choose the CSV option.

5. Then, choose the location where the file will be saved. That is, add the location in the Destination Path. Finally, hit the Change button.

6. When the conversion process is over, the Completion dialogue box will pop up.

Using the Chrome Extension to Transfer data to Excel
Steps:
1. To get started, you need to install the extension. Therefore, open the Chrome Web Store and search for “Export Emails to Google Sheets by cloudHQ.”

2. Choose the folder you want to convert the emails from. Then, left-click on the three vertical dots next to the Label button. Then, choose the Save Label to CSV option.

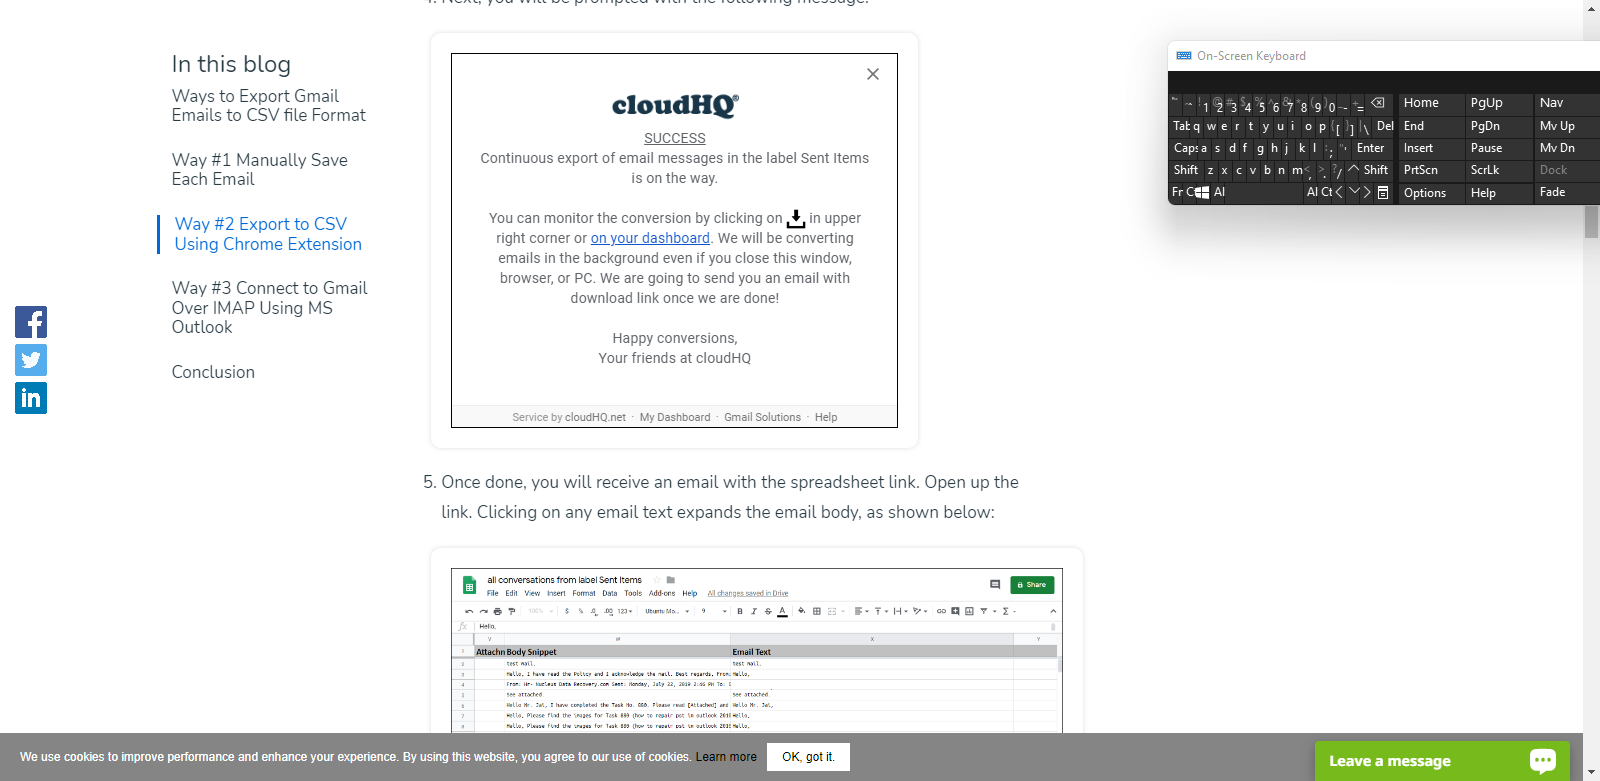
3. In the next screen, select all the settings and hit the Start button. A success dialogue box will pop up.

4. To get started, A spreadsheet link will be sent to your email.
