
By default, Excel has the numbering of the rows on the left side. However, in some cases, the numbering of the Sheet may not align with the numbering of your data or list. Therefore, you may need to add the numbering by yourself. Numbering Rows in Excel is one of the small tasks every user needs to learn. This article will discuss easy and quick ways of adding numbers to rows.
1] Using the Row Function
The row function is ab in-built function that can be used to alter the numbering of rows. Below are the steps to use this method:
1. Open the Excel application.
2. Open the document you want to add numbers.
3. Locate the Leftmost empty column. If there is no empty column on the leftmost side of the document, right-click on the leftmost column and select the Insert button.

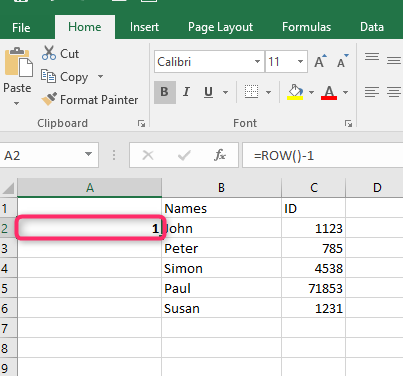
4. Double-click on the cell containing the 1st number of your numbering.
5. Then, locate the Formula bar type this formula =Row()-1.

6. Next, hit the Enter key.
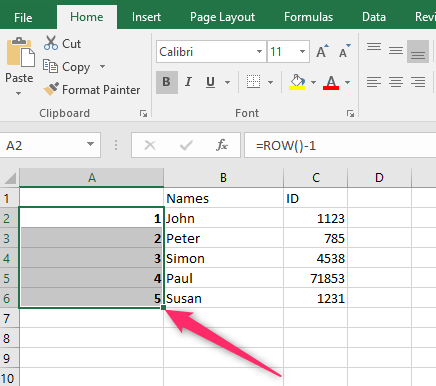
7. Using the dragging icon on the bottom right side of the cell with the formula, drag the formula to other rows.

2] Using the Dragging Tool
Here are the steps to follow while using this method:
1. Open the Excel application.
2. Open the document you want to add numbers.
3. Locate the Leftmost empty column.

4. Manually type the numbering you want to apply. For example, if you're going to type 123… type 1 to 3.

5. Then, locate the dragging tool, and drag the numbering to the entire list.
3] Using Justify series Tool
Steps:
1. Open the Excel application.
2. Open the document you want to add numbers.
3. Type 1 in the first cell that will contain your numbering. Then, click the Home tab.

4. In the Home tab, locate the Editing section and click the Fill drop-down button. From the menu, click on the Justify option

3. In the Series dialogue box, toggle on the Columns button. Locate the Type section and toggle on the Linear Option.
5. Set the Start Value and the Stop Value. Finally, hit the OK button.

4] Using COUNTA Function
COUNTA function can be used with the IF condition to assign numbers to your data in Excel. The COUNTA assigns numbering to a cell if the adjacent cell has value or data. Here are the steps to follow:
1. Open the document you want to add numbers.
2. Type the Equal sign in the Formula bar.
3. Then, type the IF Condition followed by the ISBLANK function that will check if the cell is blank. If the cell is blank, no number will be assigned.
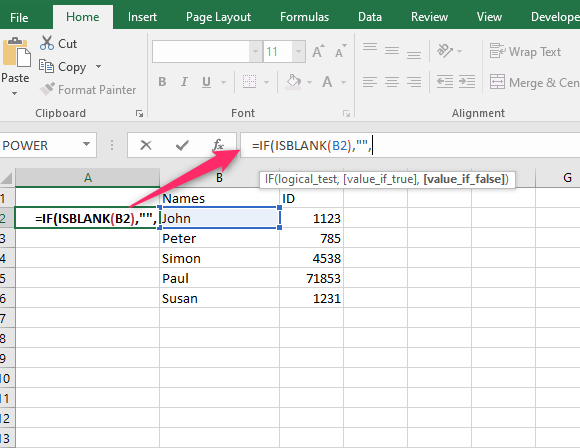
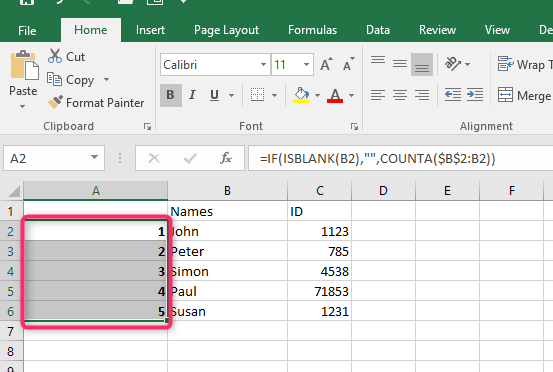
4. Next, type the COUNTA function and close the formula. That is =IF(ISBLANK(B2),"",COUNTA($B$2:B2)).

5. Finally, hit the Enter button.
5] Incrementing the previous Row index by one.
Steps:
1. Open the document you want to add numbers.
2. Double-click on the cell where you want your numbering to start.
3. Type the Equal sign in the Formula bar.
4. Then, type the cell index of the previous cell plus one. For example, type the following formula in cell A2 =A1+1

5. Then, locate the dragging tool, and drag the numbering to the entire list.
